As part of a larger project, I found that I needed to be able to ingest emails automatically and programmatically. There are numerous tools that enable email parsing, but I had a couple of requirements that led me to use SendGrid with Netlify. My requirements were as follows:
- Custom Email. I want to be able to use my own domain in the email. I did play around with the free tier of Cloudmailin, but it has computer-generated emails you have to use.
- No Mail Server. I wanted to use the emails as pseudo API calls, I didn’t want to store them or have the overhead of a mail server. I did attempt to use Zoho to set up emails with my domain. The free tier works great for custom domain webmail but is limited for forwarding or email processing.
- Serverless. I wanted the parsing process to not require some other server to process the request. Not something like Mailin.
- Free. If I can avoid it, I would like to do my hobby projects for $0 cost.
SendGrid Inbound Parsing + Netlify DNS checked all the boxes!
Before we start
I assume:
- You have a SendGrid account
- You have a Netlify account
- You have your own domain (not required but I do use my own domain for this tutorial). I got mine through Namecheap.
Set up
This tutorial has several parts. I will list them here if you want to jump to any of the steps:
- Authenticate your domain with SendGrid
- Add the MX records for SendGrid in Netlify
- Set up the inbound parsing with SendGrid
- Test your new email parser
Authenticate Your Domain with SendGrid
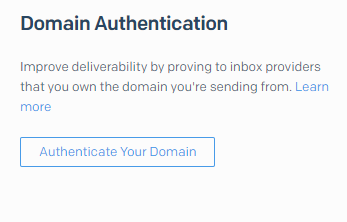
All right, head over to your SendGrid console. You will find the option to authenticate your domain in Settings > Sender Authentication.
Click Authenticate Your Domain under Domain Authentication
For DNS host, choose Other Host and type Netlify into the DNS Host field. I don’t think it matters what you put, however.
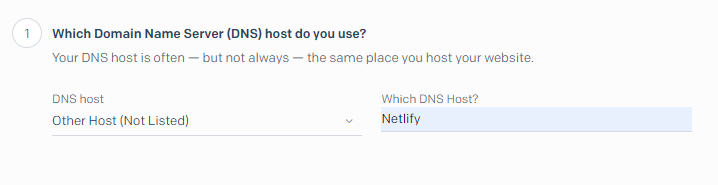
Click Next.
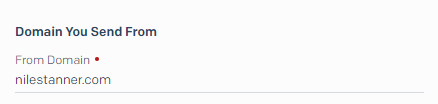
Here you will enter the name of your domain. For me this is nilestanner.com.
Click Next.
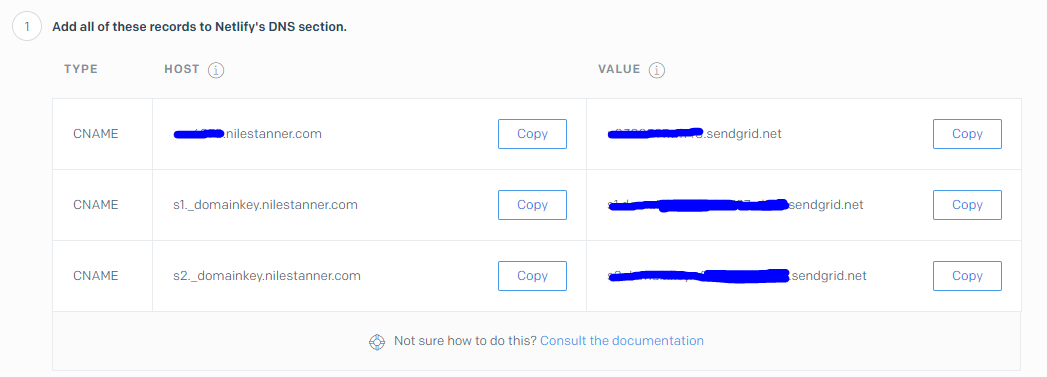
At this point you should see this screen; keep this tab open. You will need to come back to this! Now head over to Netlify.
Once you’ve logged in, navigate to the DNS panel for your site. You can do this by clicking the Domains tab near the top of the page, then clicking your domain that you have registered with Netlify. You should get to a page that looks like this:

Scroll down until you find the add new record button. Click that button.
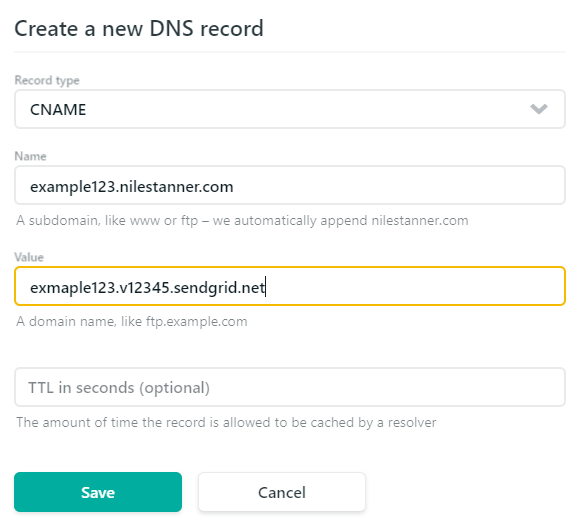
The values in this picture are fake
You should see a dialog like this one. Change the record type to CNAME and copy over the values that SendGrid provided. Hit save.
Repeat this for each record that SendGrid provides.
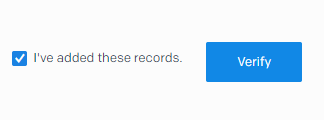
Once you’ve completed that step, check the box on SendGrid that says I’ve added these records and finally click verify!
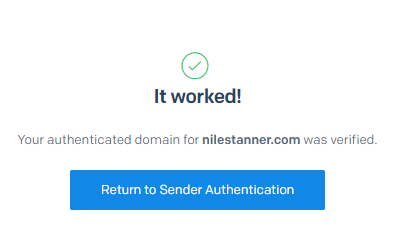
If it all worked correctly you should see this message:
Add the MX Record for SendGrid in Netlify
Now that you have verified your domain with SendGrid, we still have to send SendGrid the emails that come to your site. This step was a bit confusing for me, as it was not part of the onboarding with SendGrid’s Inbound Parse. But don’t worry, this step is really simple.
This is the document I read to learn about this process. I’m including it here for your reference.
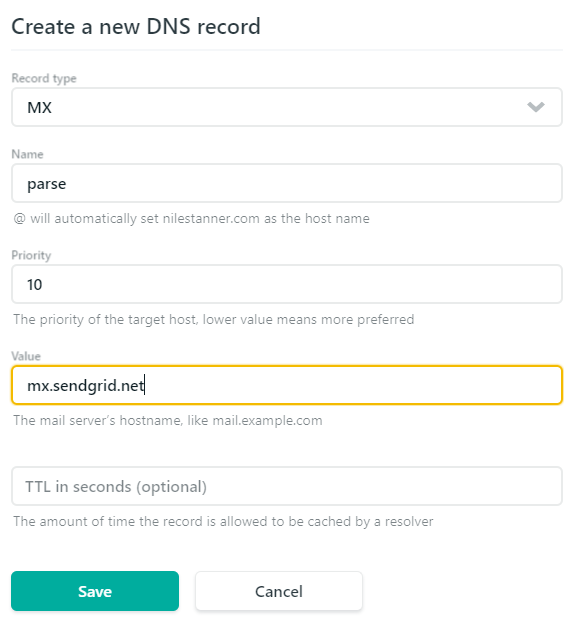
To add the MX Record for SendGrid in Netlify, just head over to Netlify and add another record like this:
Some questions you might have:
- Why parse?
- You can put anything you want here but I wanted to be able to send emails to
<name>@parse.nilestanner.comand have them sent to SendGrid. Because I have other emails set up on<name>@nilestanner.com, I set up a sort of email subdomain of parse to avoid a collision.
- You can put anything you want here but I wanted to be able to send emails to
- What’s mx.sendgrid.net?
- This is where emails from
<name>@parse.nilestanner.comwill be sent. In order to use the custom domain email, the emails have to come to the DNS server where the custom domain is set up. But then we have to be able to forward that email to SendGrid, thus mx.sendgrid.net.
- This is where emails from
Note: The MX record might need time to propagate. If you have emails sent to your subdomain that fail as undeliverable, you might just have to wait. This should happen pretty quickly, but could take up to 48 hours in rare cases.
Set Up the Inbound Parsing with SendGrid
Now that you have your MX record set up, head back over to SendGrid.
Go to Settings > Inbound Parse
Click Add Host & URL.
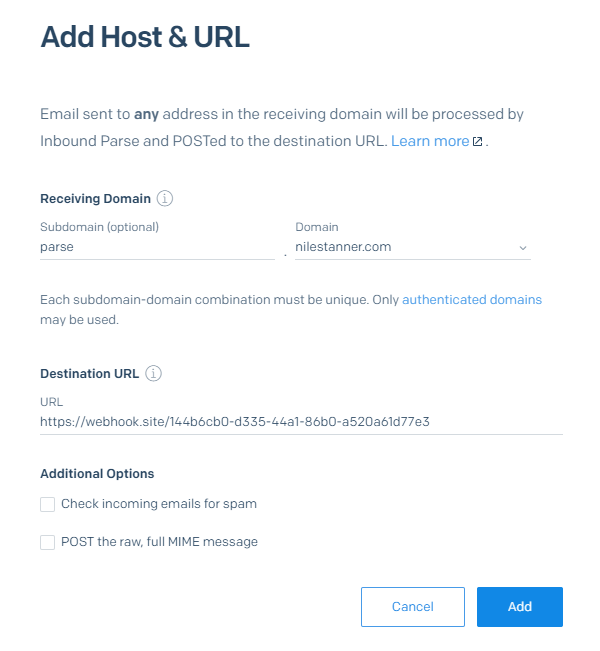
You should see this panel open up. Notice the subdomain matches the subdomain that you specified when you added the MX record. If you chose a different subdomain, make sure that this information matches your MX record!
Next look at the Destination URL. In the picture, I have a test URL, from webhook.site. (I will explain the test URL more in the next section.) This URL should be whatever server or program that you want to receive the parsed message.
Click Add and you’re done!
Testing Your New Email Parser
Now that everything is set up, it’s time to make sure that the email is parsed correctly!
I used webhook.site to debug the webhook. Just head over to their site and they will automatically generate you a webhook URL.
Copy that URL and create a new Inbound Parse configuration. (Note that you might need to delete existing configurations; unfortunately, you can’t edit the URL.)
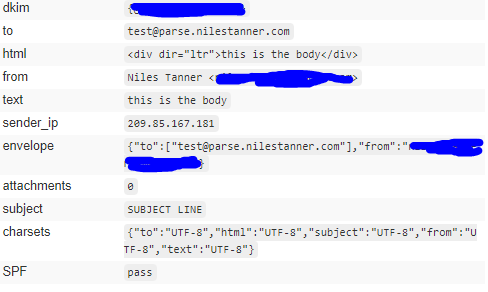
Once that’s done, you can head over to your email client and send an email. I’m going to send one to test@parse.nilestanner.com.
Note: The username part of the email can be anything you want. This was a nice added bonus which means that I could use the username as additional info for the server ingesting the webhook. Likely I will use this to determine which app to invoke using the email parser. For example, I can use app1@parse.nilestanner.com for a function on app1 or app2@parse.nilestanner for a function on app2.
If it all worked, you should see the parsed email on webhook.site. Give it a minute or two; it isn’t the fastest.
🎉🎉Voila!🎉🎉
You’ve done it—a working email processing webhook!
Note: SendGrid’s Inbound parsing will send the parsed email data in multipart form data. This is good to know so you know how your webhook ingesting server needs to be set up.
Final Thoughts
When I set out researching this topic, my final goal was to be able to make API calls from SMS. This solution gets me pretty close. Luckily, you can just send tests to emails, which works beautifully. Overall this solution is pretty simple and gets me exactly what I wanted!